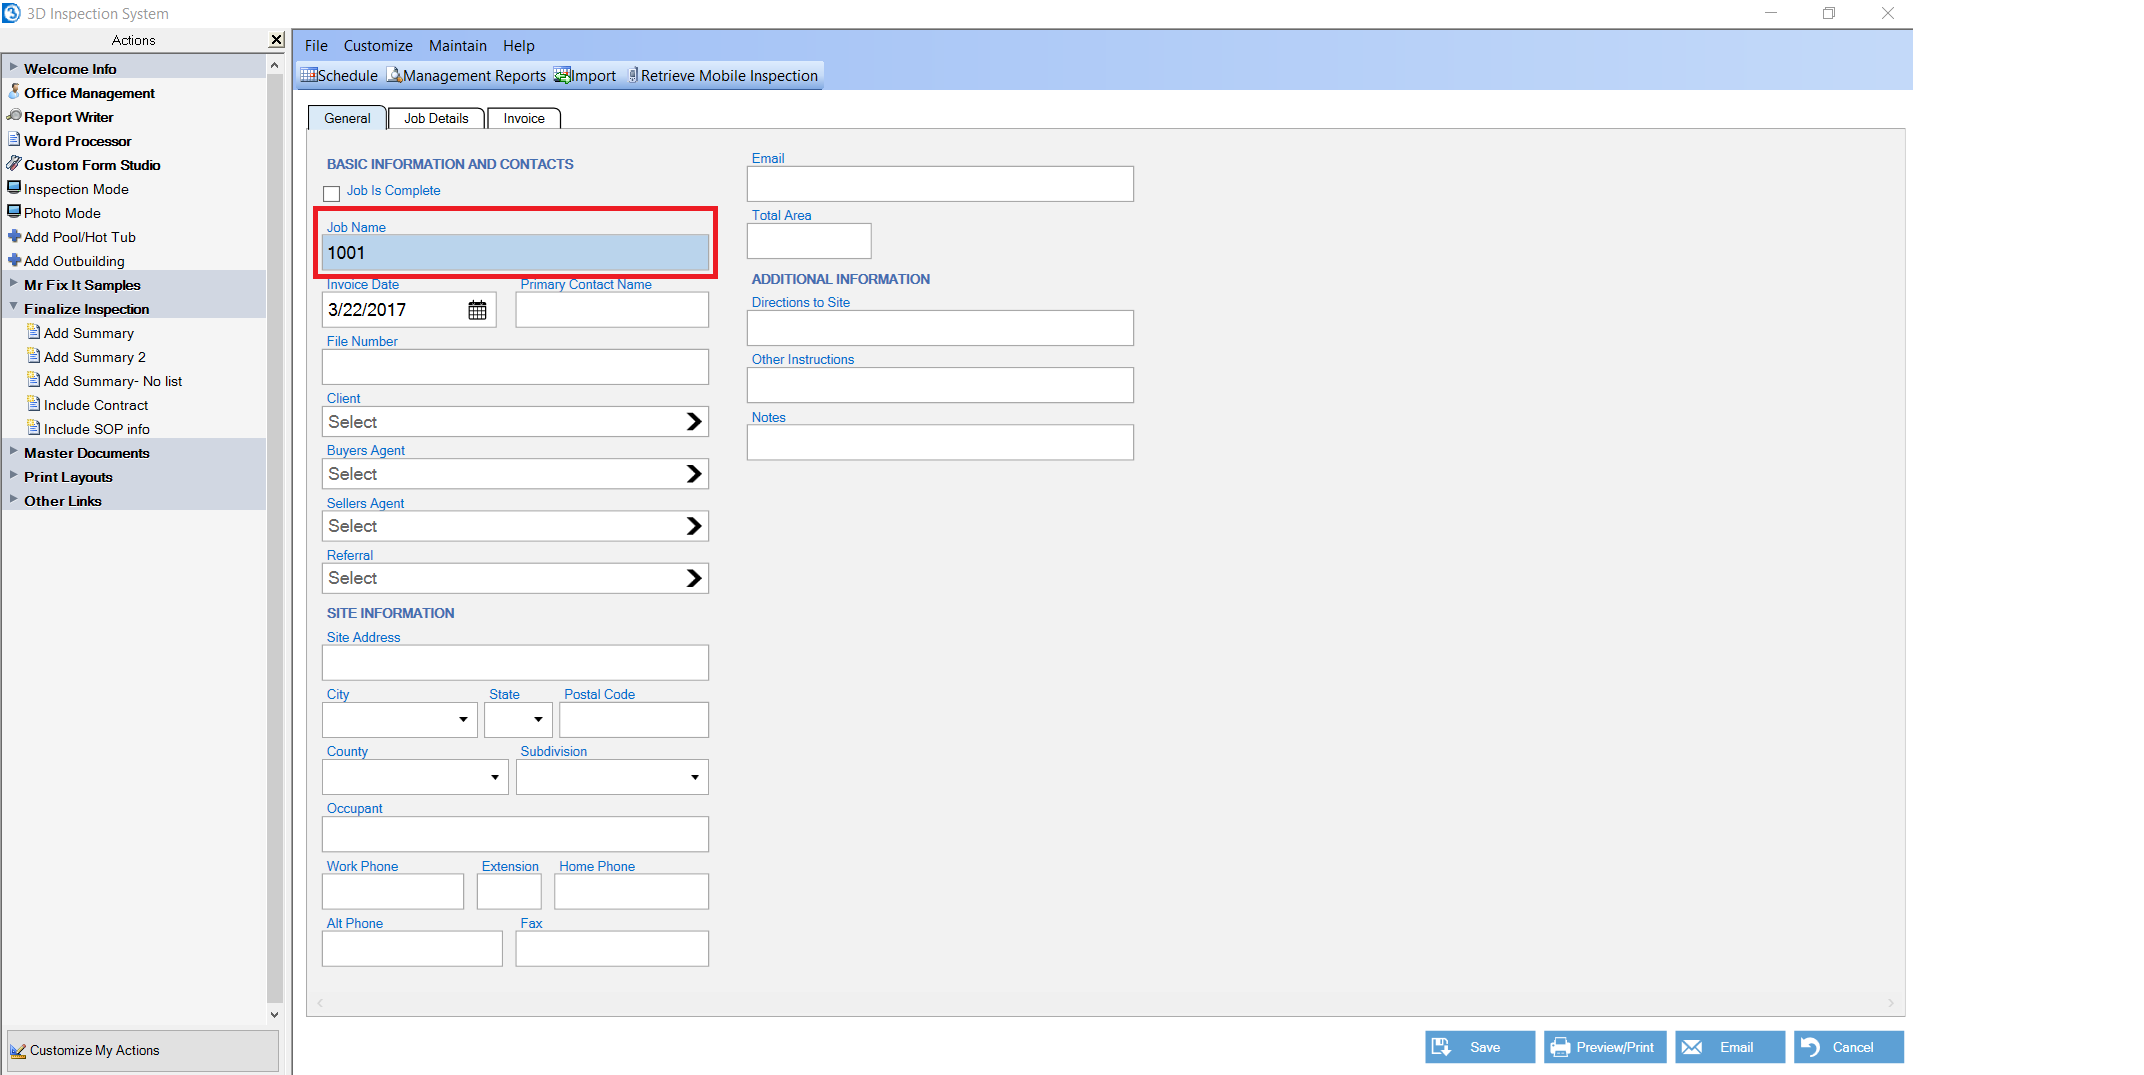
When you add a new job in 3D it will automatically assign the Job Name with a number.
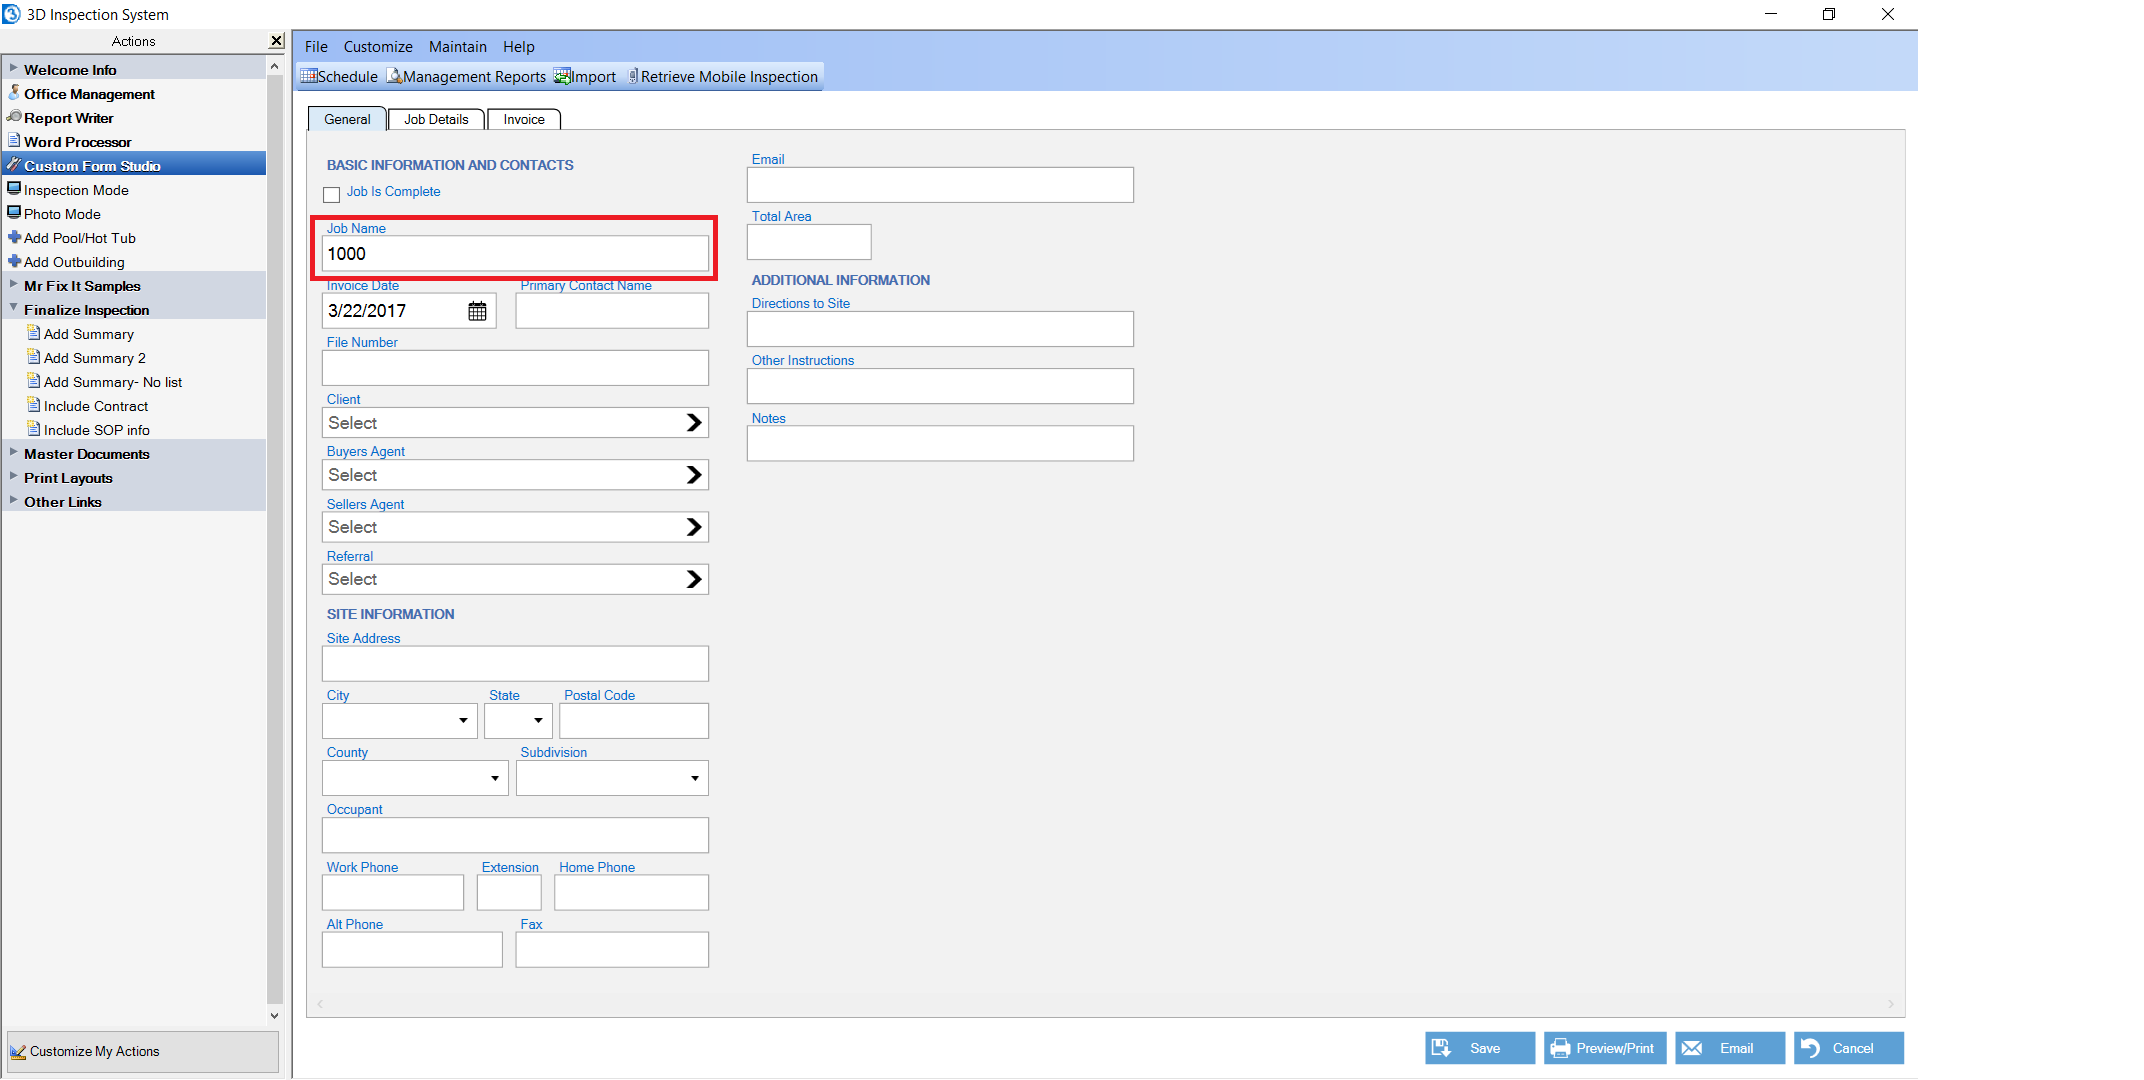
The number will automatically increase by 1 every time you start a new job.
Why do we start a job with automatically assigned incremented numbers? This keeps the jobs unique, preventing a conflict that could otherwise occur if inspectors simply chose to use a client name or site address for the job name. That could prevent an inspector from distinguishing repeat inspections for the same client or site- And who doesn't want repeat business! The automatically assigned numbers prevent this by giving each job a unique name.
But there is no need to include the client name or address in the job name anyway, since that information is already entered separately and may be merged wherever needed into reports and documents. Entering it twice is only extra steps you don't need. You can easily search your 3D database by client name or address without including it in the job name. Not only would including the client name and address in the job name adds needless extra steps, but also makes it more complicated to correct spelling for such information later on in the job name, since the job name might already be linked to invoice items and reports.
However the starting number for automatically assigned numbers may be changed or disabled completely in Office Management Preferences.
Please note that when changing the starting invoice number to a higher number it is advisable not to lower the number back down later. This is to make sure invoices always have unique numbers with no repeats. Some inspectors like to increase their invoice number to the next thousand each year to differentiate jobs. For example an inspector might do 300 jobs this year so his starting number would be 1300. Then on January 1st he would increase his starting number to 2000 to signify the new year. This isn't needed, since one can use a Management Report to determine how many inspections have been done, but some prefer a handy at-a-glance type number to determine this.
If you wish to change or disable your starting invoice number, choose Maintain on the top toolbar.

Then click on Office Management Preferences

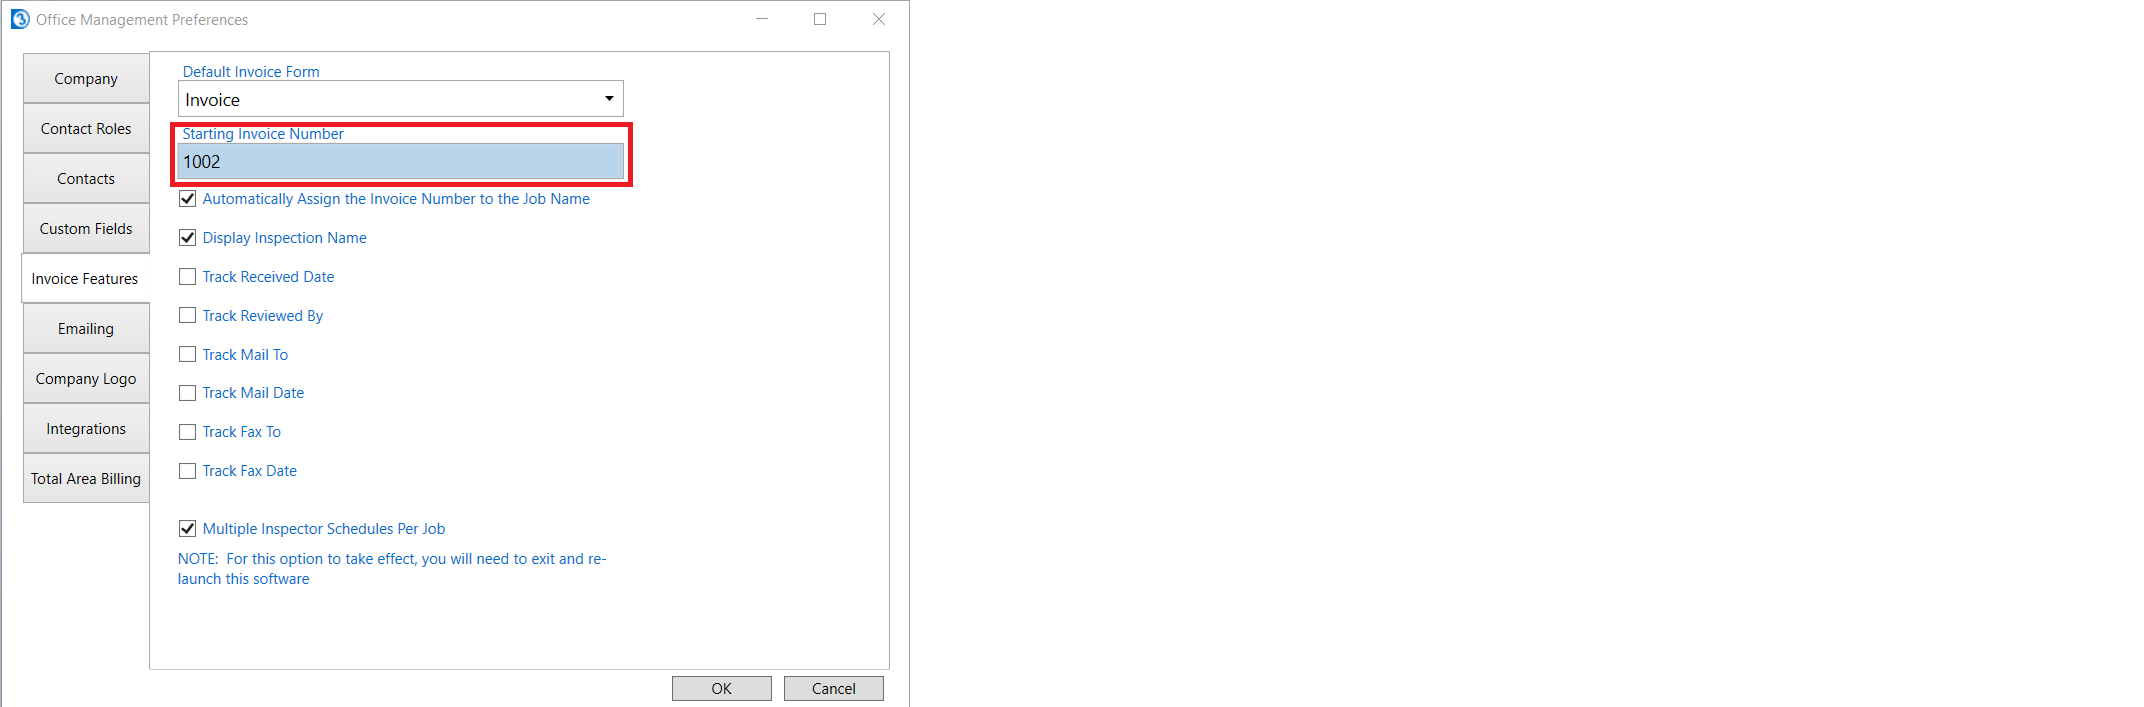
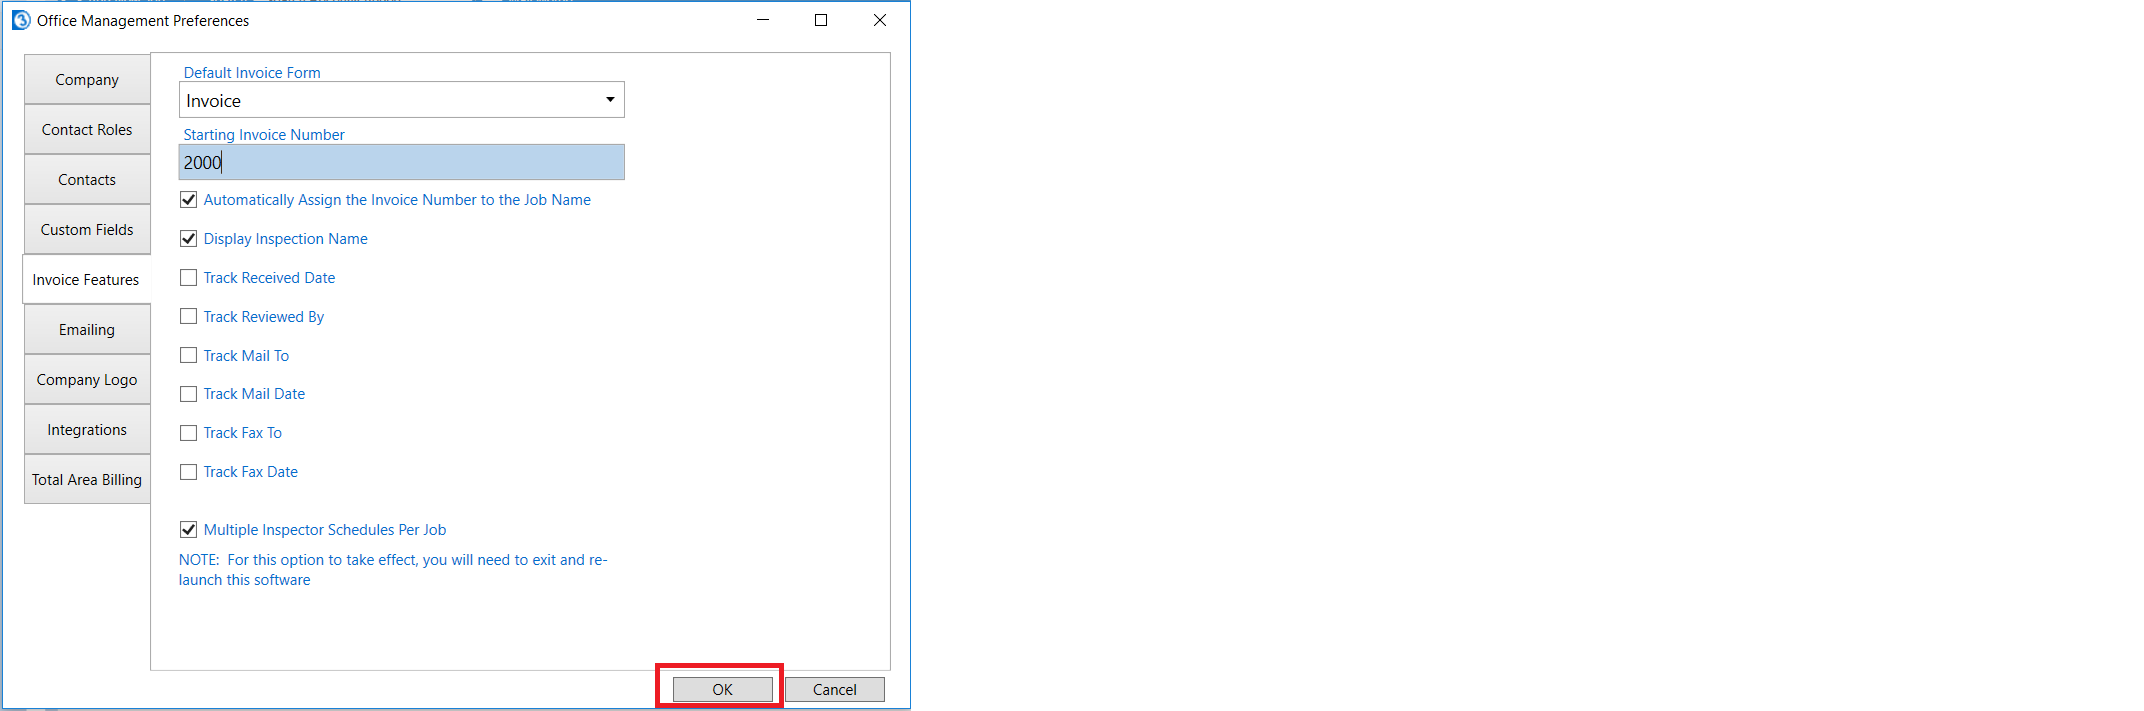
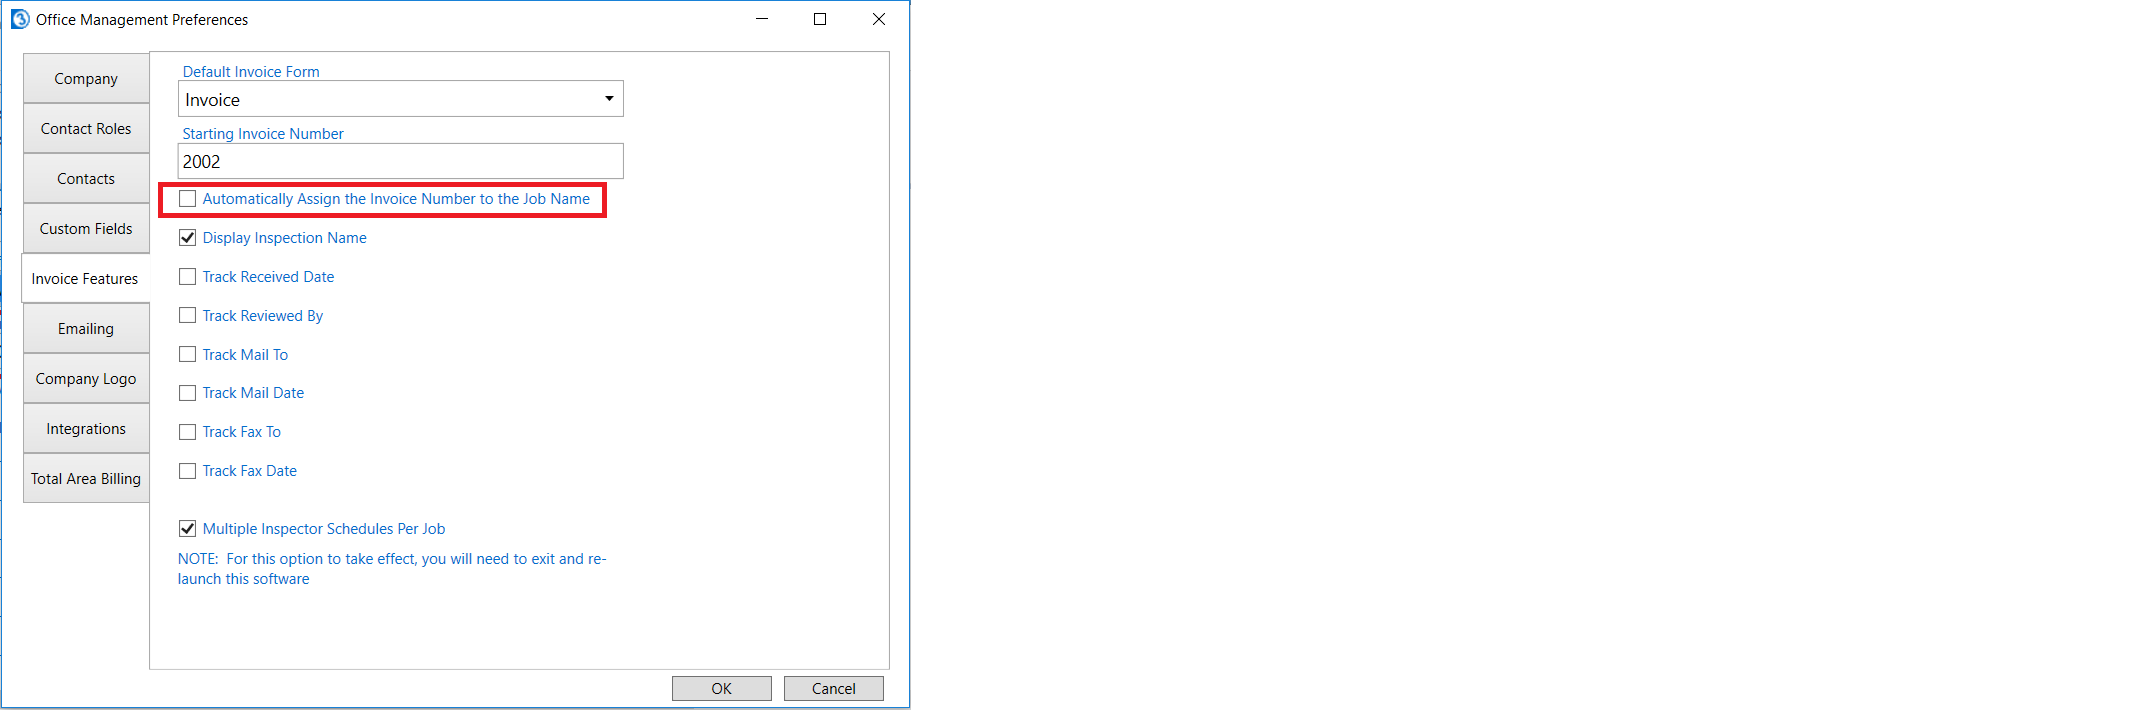
A new window will open. Click on the Invoice Features tab on the left.

You will see the Starting Invoice Number. This is the starting number that is automatically incremented by one each time a new job is started. You'll see below that my number is 1002. This is because I started the jobs 1000 and 1001 earlier in this example.
We can now change the number to what we want. For example we could do a starting number of 2,000 instead.
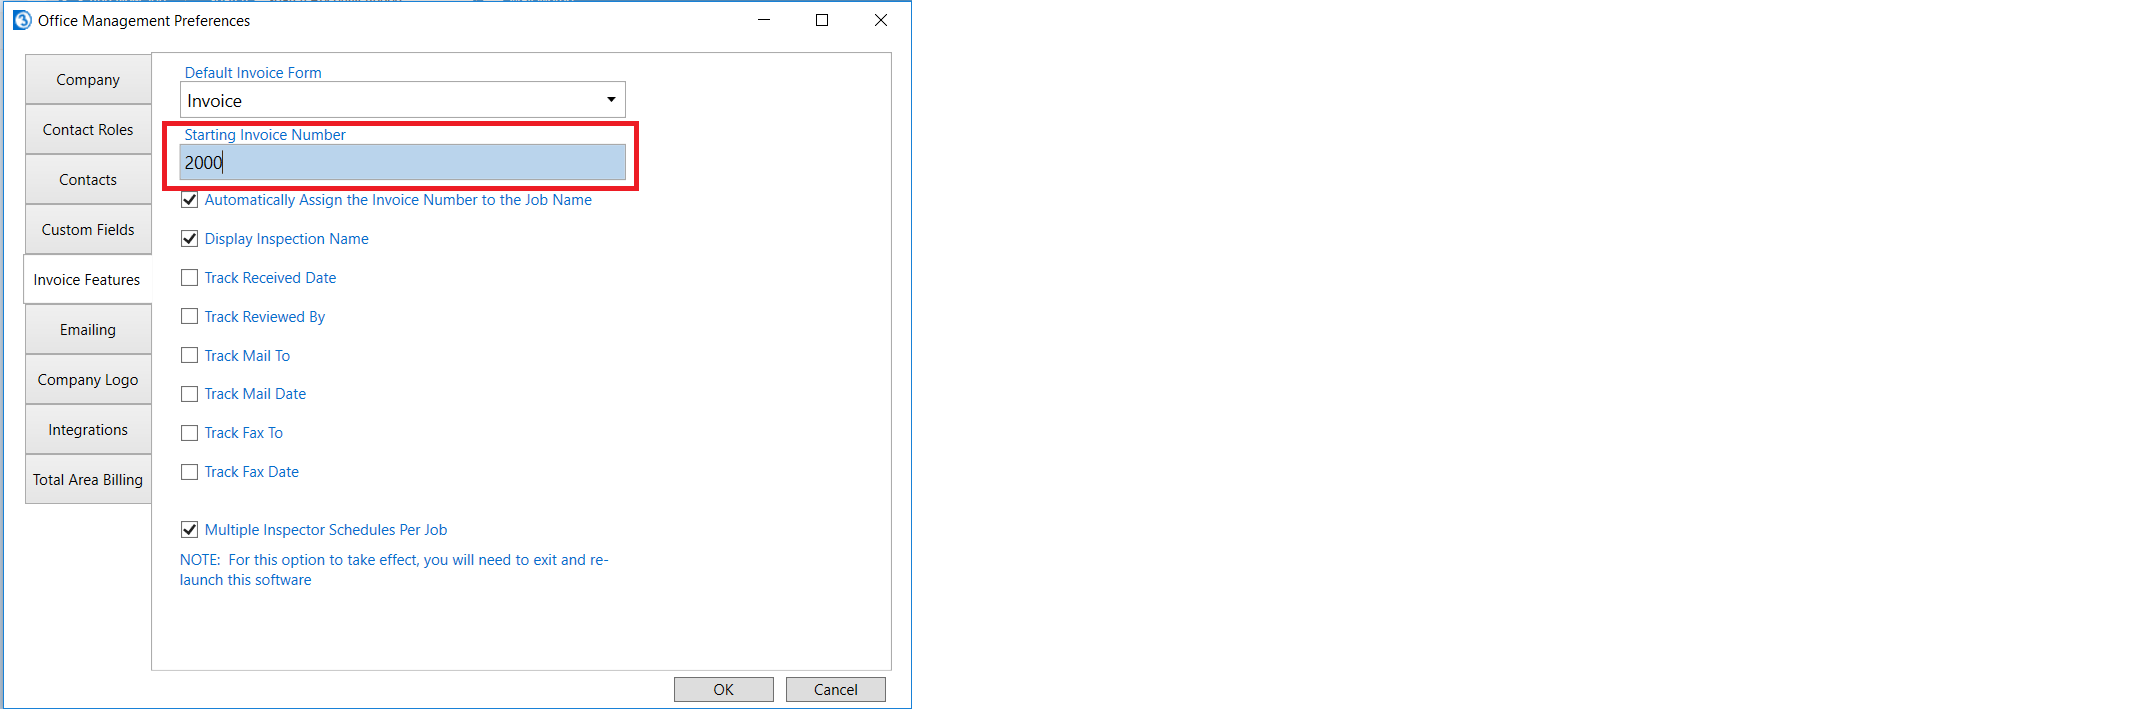
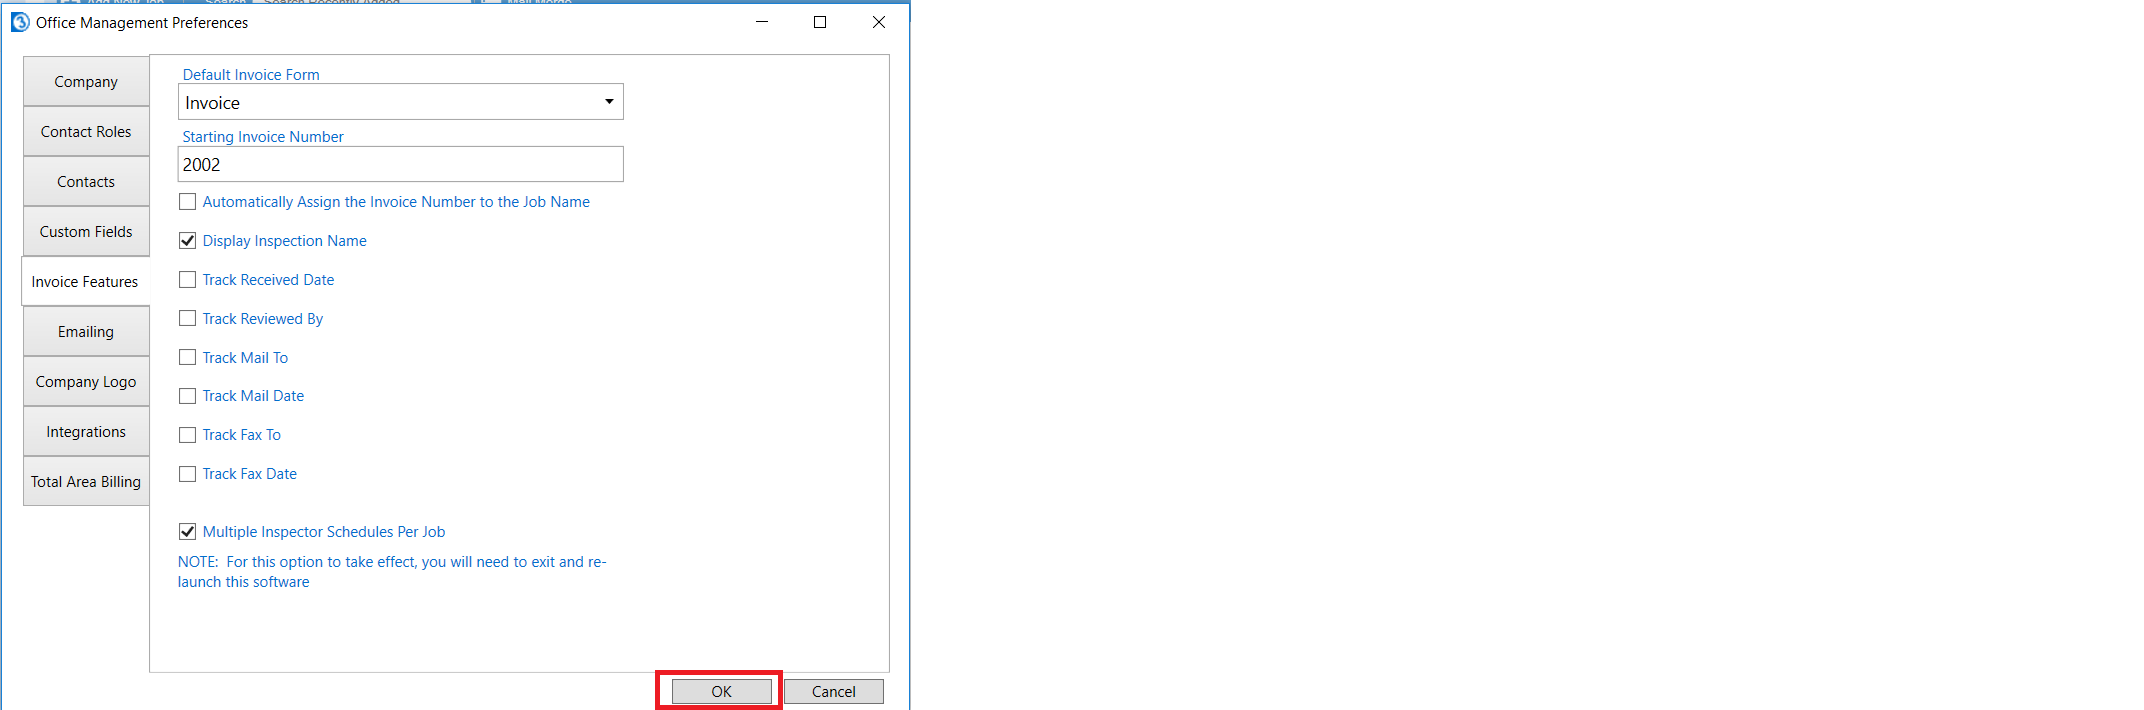
Click OK to save your changes.
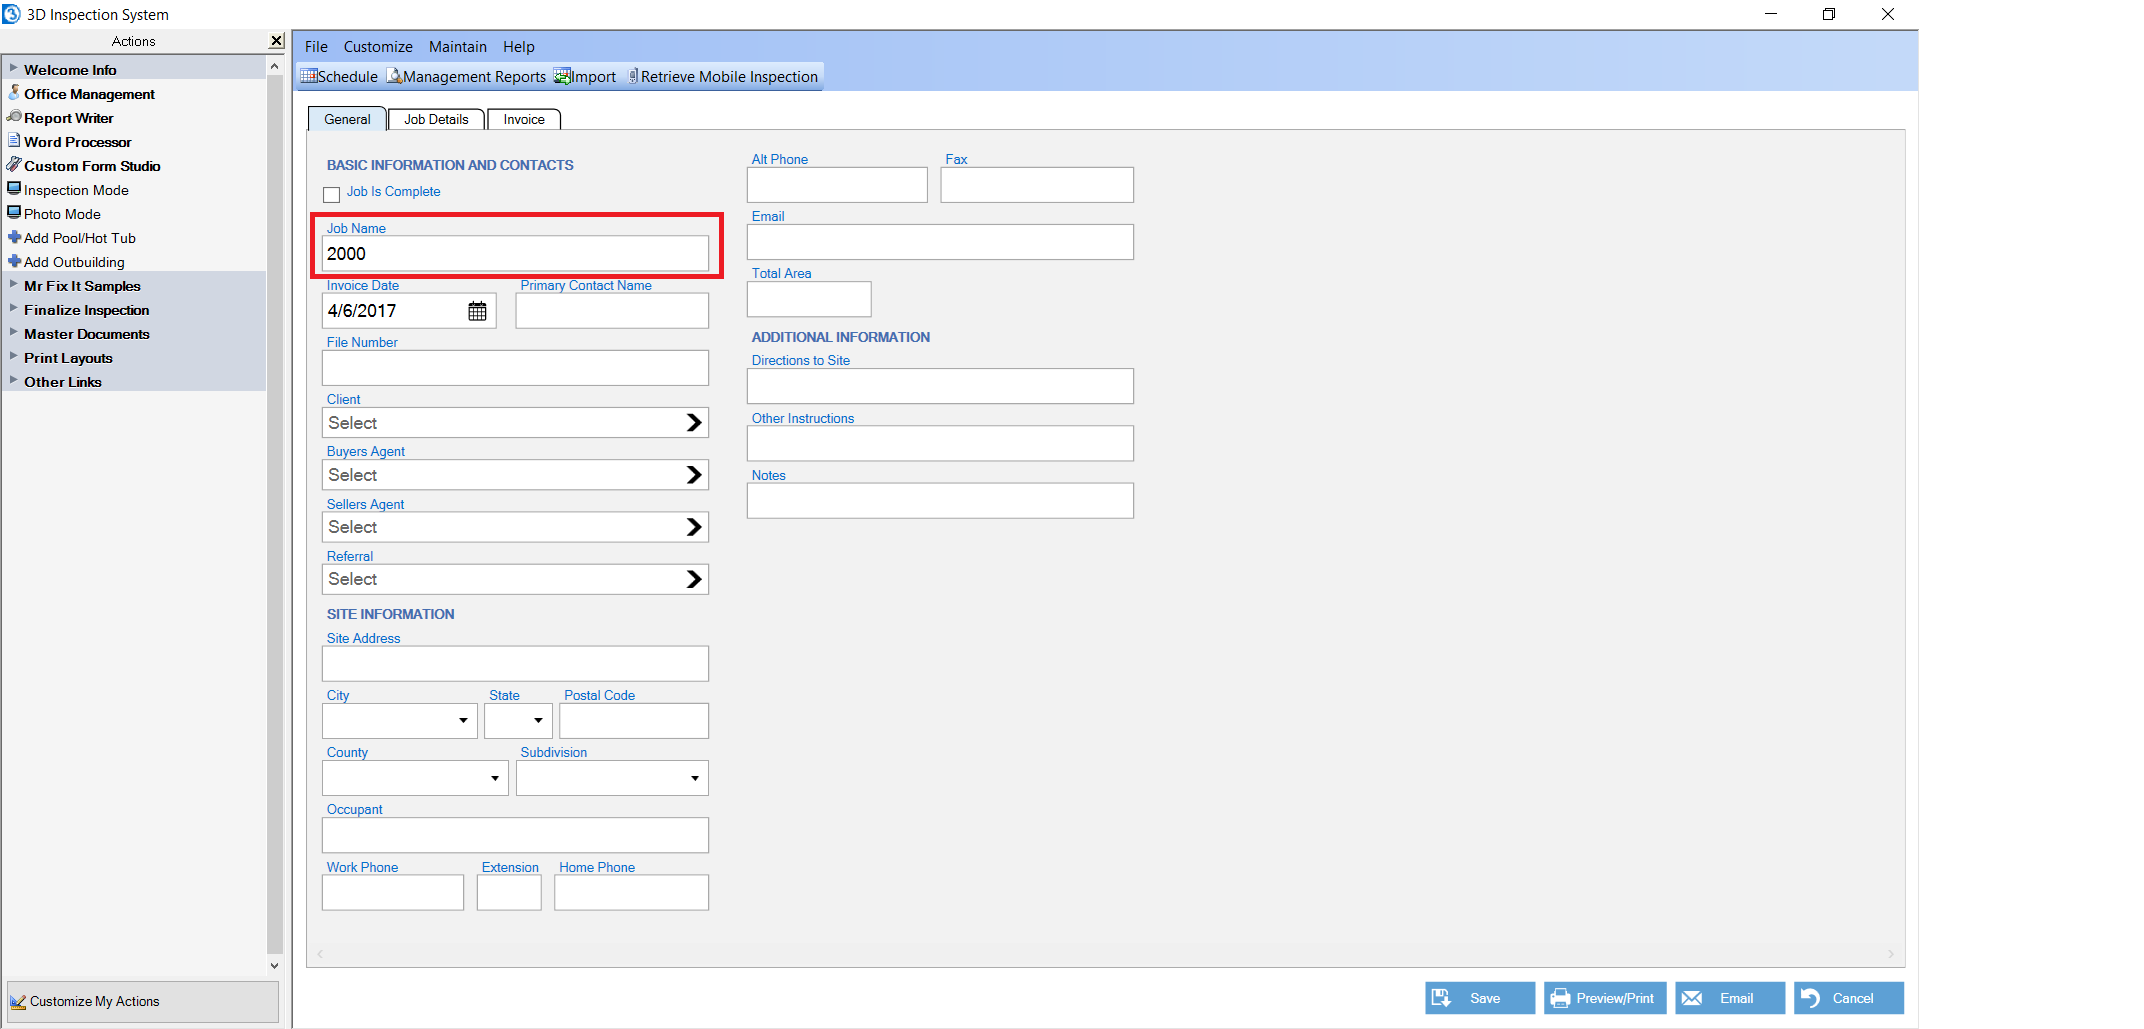
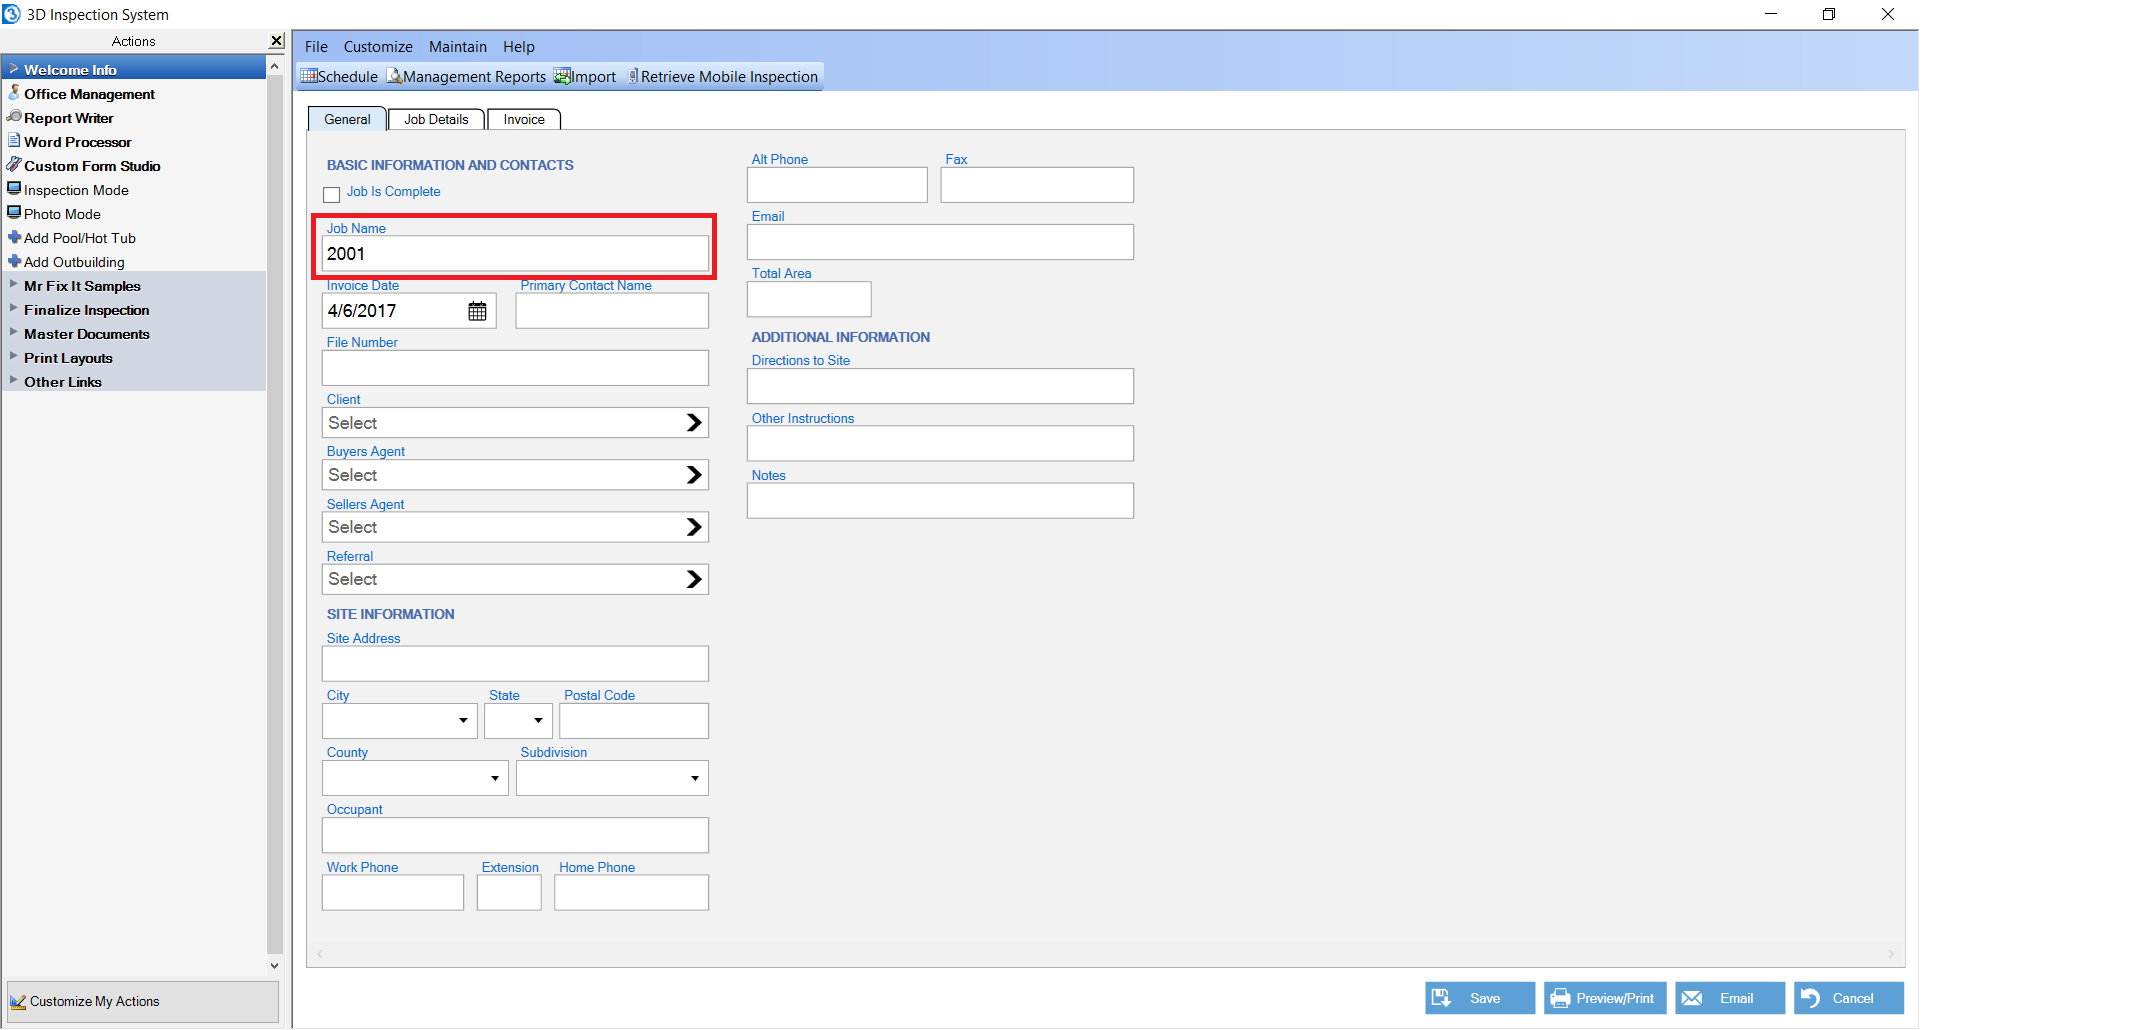
Now new jobs will start with the number 2,000 and increment by 1 every time we start a new job.
We can also disable this feature so that new jobs don't start with invoice numbers. The main reason to choose not to have 3D auto-number job names would be if one has their own separate ‘coding’ system they want to use instead as a reference number.
If you want to turn off automatically assigned invoice numbers as the job name then remove the check-mark from "Automatically Assign the Invoice Number to the Job Name".
Please note that even if this is turned off that the invoice number will still be automatically assigned to the 3D invoice on each job, as that can work with the optional QuickBook Pro export option in Premier editions.
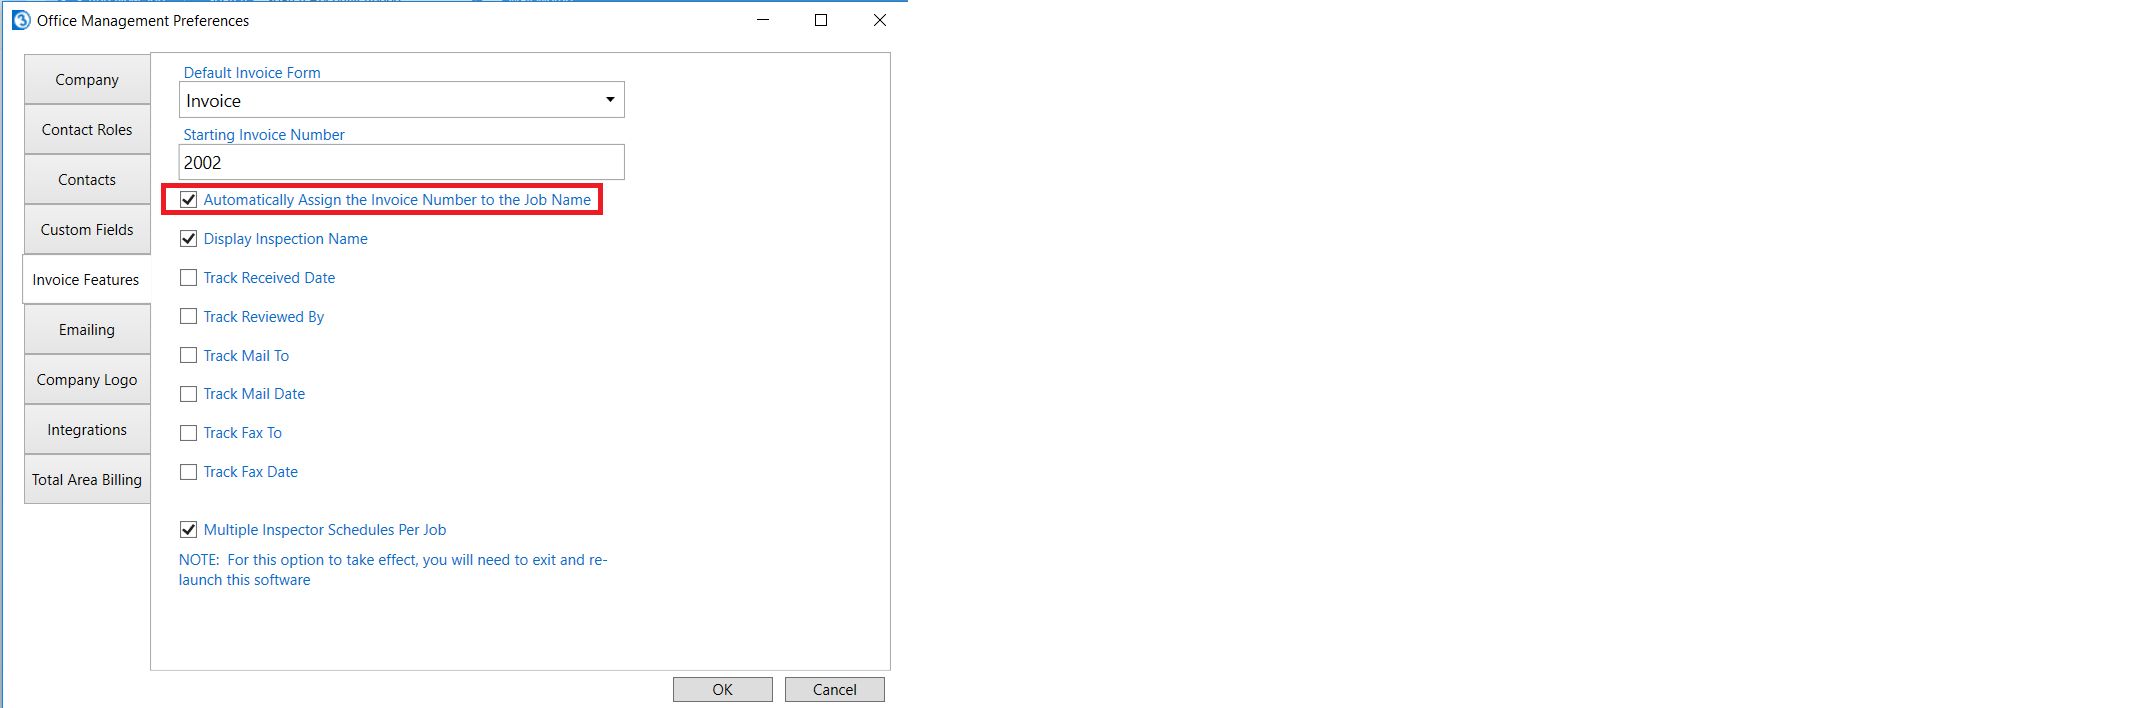
Once you're done click OK to save your changes.
Now new jobs will have blank names instead of numbers, allowing you to use another special coding method of identifying your jobs, perhaps using letters and numbers. Again, it's advisable with whatever numbering system you choose to use to generally avoid using the client name or inspection site address as your job name to ensure uniqueness and make later corrections to such information easier.


 Need Support