Your company logo and address information can easily be setup or updated in Office Management.
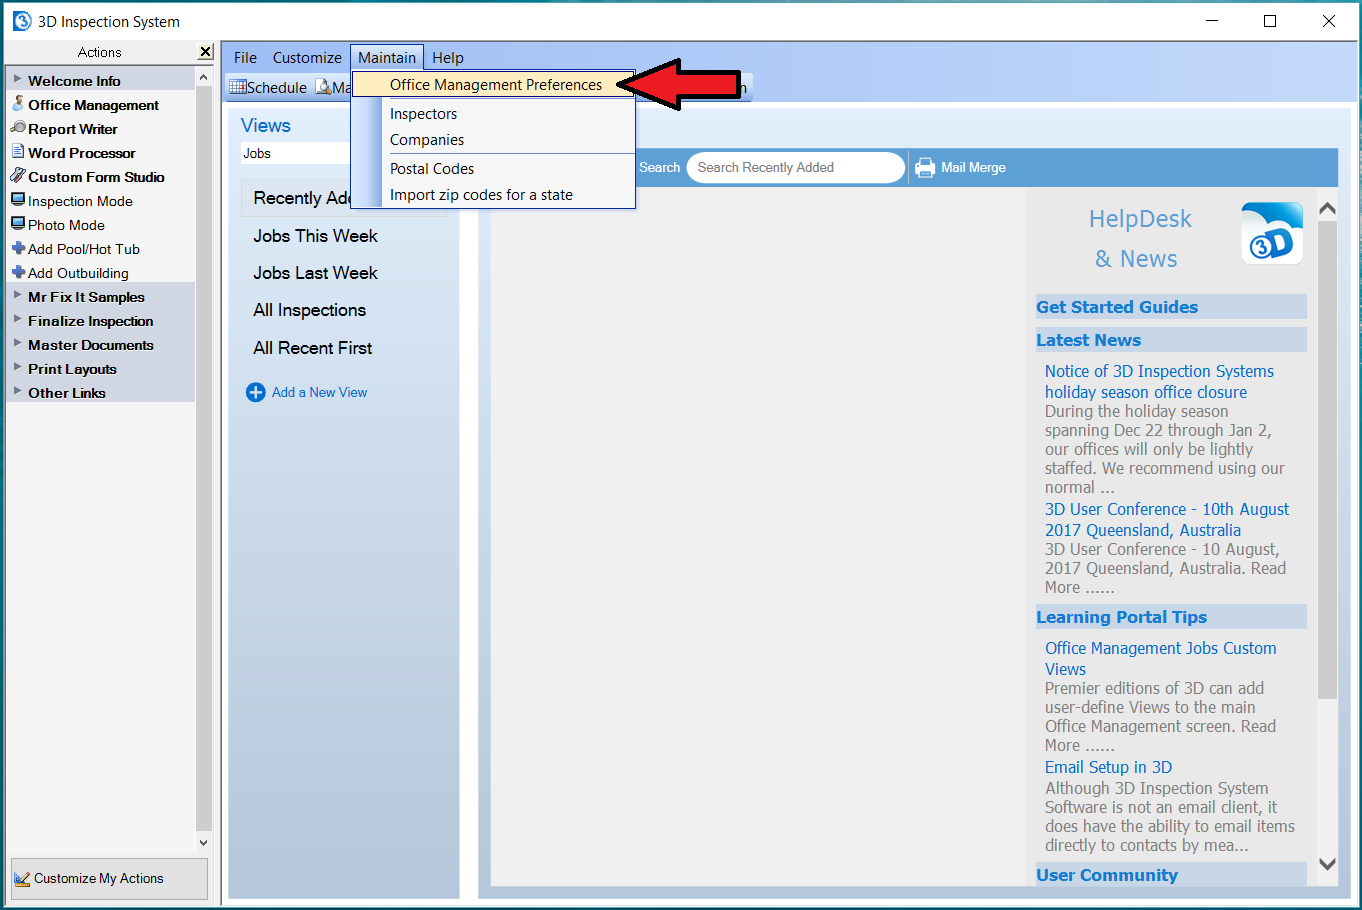
To setup/update your company logo and address information you need to first import it into your company Preferences. In Office Management, use Maintain > Office Management Preferences.
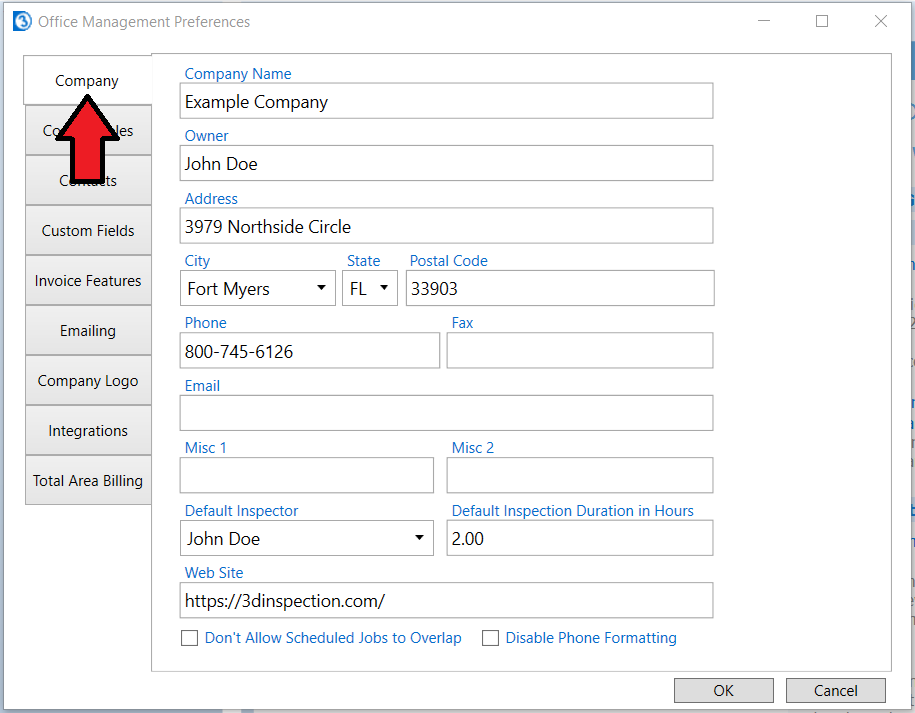
If you previously entered your company information in the setup wizard that appeared when you first launched the software, you'll find it here on the Company tab.
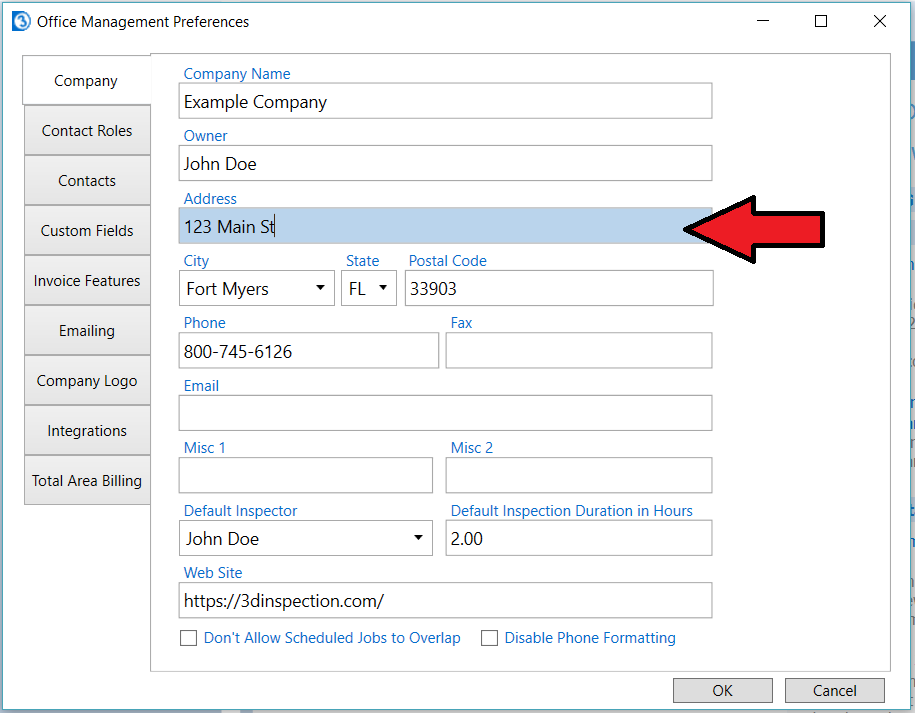
You may easily make adjustments here, for example if your address were to change.
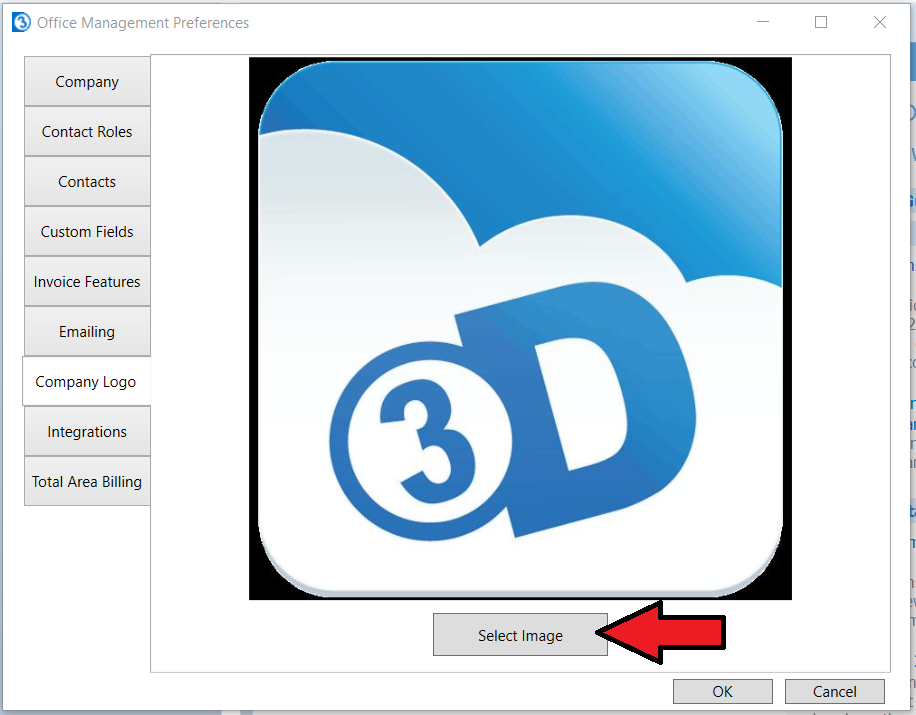
The Company logo tab is where your logo graphic is specified.
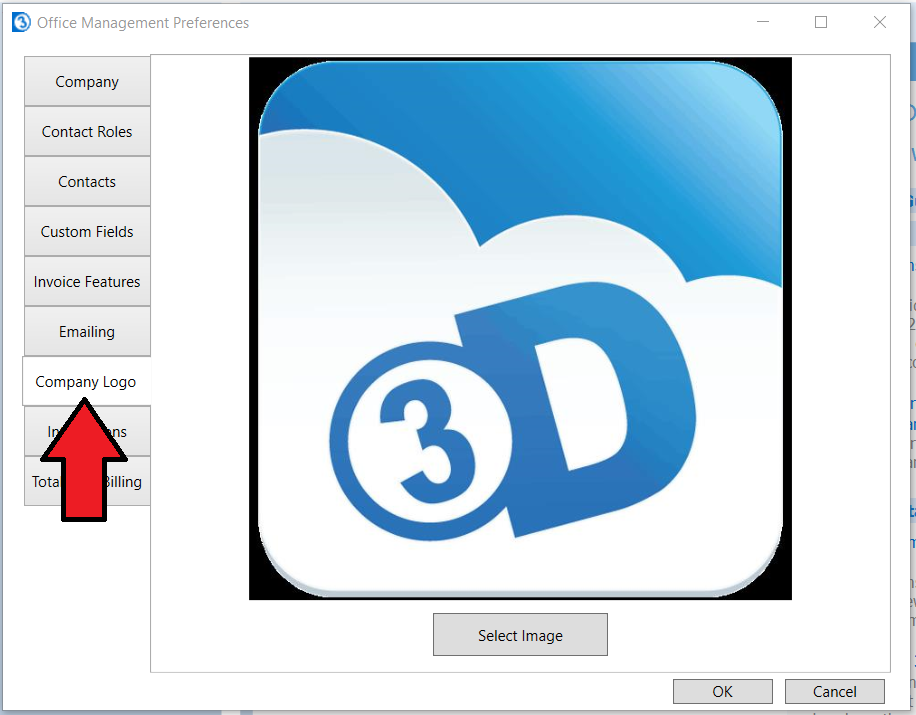
The Select Image button can be used to set or update your company logo file.
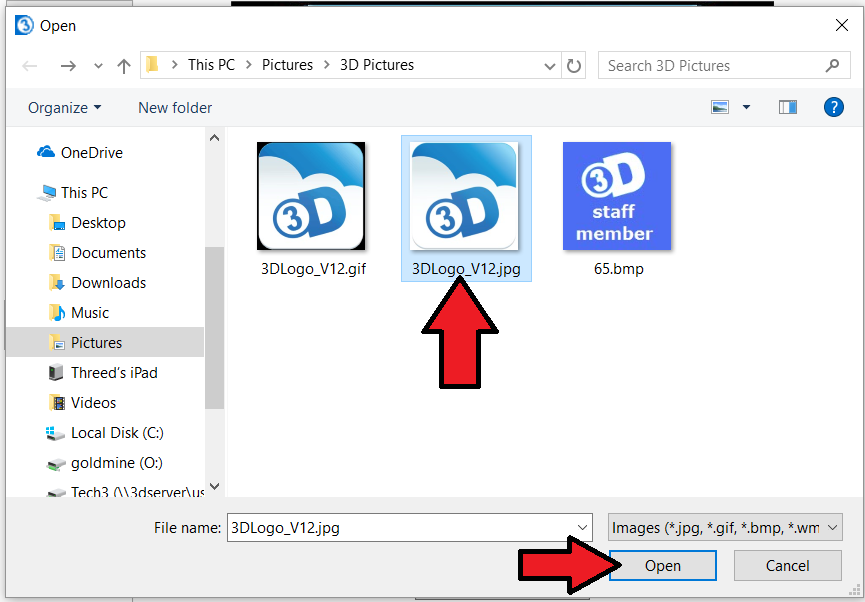
Once the Select Image button is selected the Windows File Explorer will open. Use the Windows File Explorer to browse to and select your company logo file. Then select the Open button.
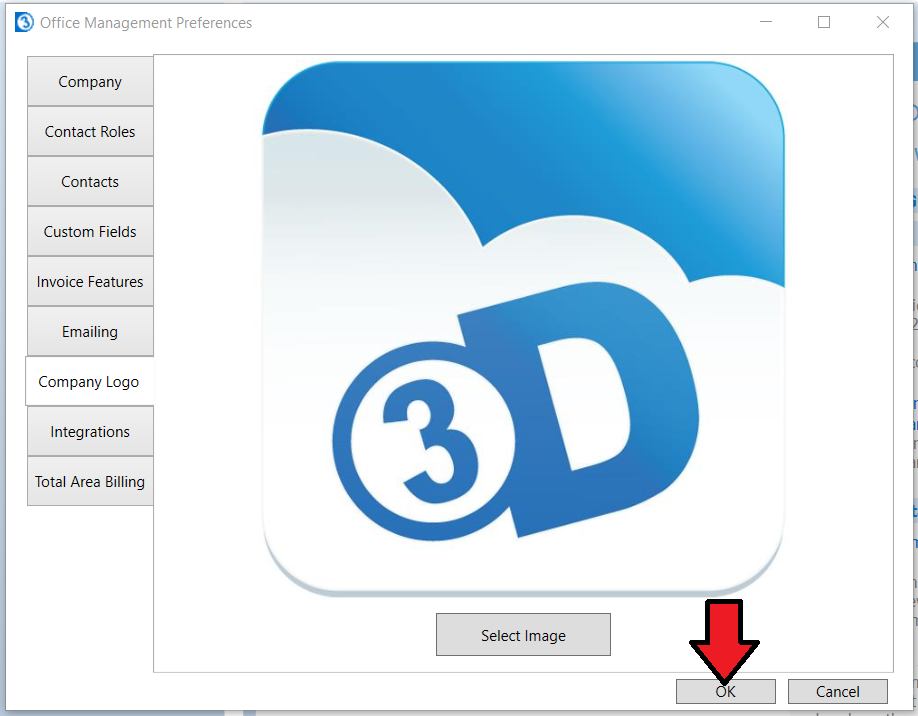
Now your logo is imported into your 3D database for future use.
Select the OK button to save your changes.
Now the logo will appear automatically anywhere in your inspections and documents where you have a logo field inserted, and your company name and address where those fields are included.
Most packages come with documents already set up to import or use your company information and logo.
If you wish to adjust how the information merges or set up a new document to do so, see our other articles on the topic.
https://3dinspection.com/tips-and-tricks/company-logo-feature.html


 Need Support