
IF A PRIOR VERSION OR EVALUATION IS INSTALLED ON THIS COMPUTER:
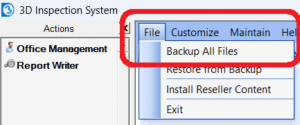
- As a precaution, first Backup All Files in your existing version of 3D. This should be done regularly.
- Before installing, you will need to uninstall the existing copy of 3D Inspection System from Windows. See https://support.microsoft.com/en-us/windows/uninstall-or-remove-apps-and-programs-in-windows-4b55f974-2cc6-2d2b-d092-5905080eaf98

When uninstalling, if prompted by UAC to allow access to do so, choose Yes. Do not uninstall SQL or other items. Uninstalling 3D does not generally remove prior data files. If you wish to start with clean or different trial content, please contact 3D support.


INSTALLING YOUR SOFTWARE
After downloading the installer file to your hard drive, when ready to install:
- Before installing 3D Inspection System or any program, it is good to restart Windows to avoid issues. Use Windows Start > Power > Restart to do so.
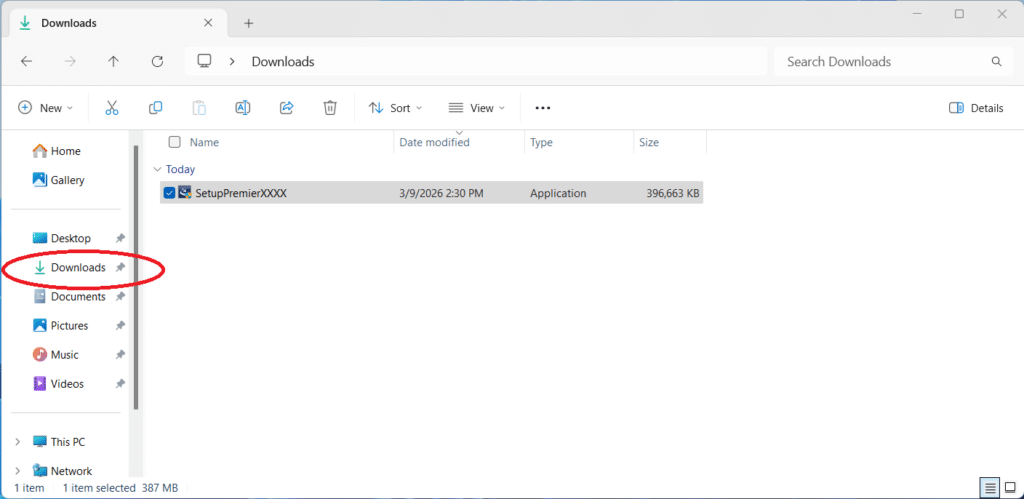
- Open your Downloads folder in File Explorer and locate the installer Setup file for your edition and version that you downloaded.
- Run the downloaded Setup file (double-click or right-click and choose Open). Note: Remember to later store your installer in a safe place off the drive with your periodic 3dbackup files.
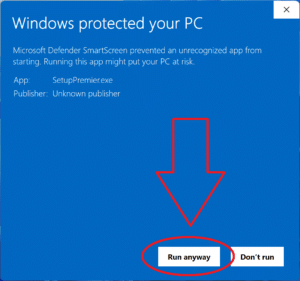
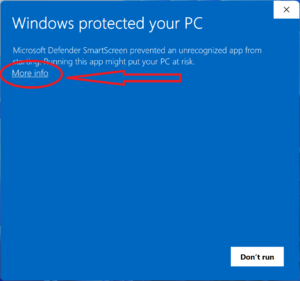
In some cases (especially for new releases), Microsoft SmartScreen prompts may appear. If so, choose More Info and then Run Anyway.
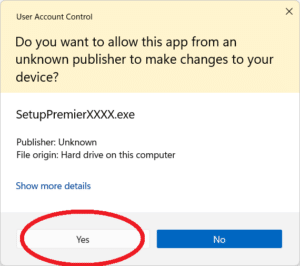
When the file runs, choose Yes at the User Account Control prompt to allow it to continue.
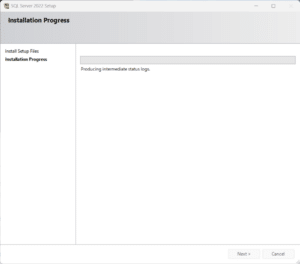
- Install any prerequisites such as SQL or others as prompted.
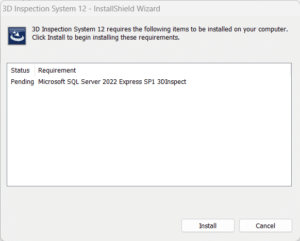
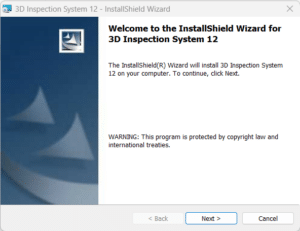
After installing needed components, the main program installer wizard will appear. (If the main installer does not appear after prerequisites have installed, try running the installer again. Or if you see a message indicating “Smart App Control blocked an app” you may need to disable Microsoft’s cloud-based whitelisting utility Smart App Control: Open Windows Settings. Go to Privacy & Security → Windows Security → App & Browser Control.
Select Smart App Control settings. Switch it Off. Run the installer again, which should now continue without being blocked.)
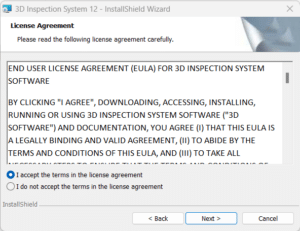
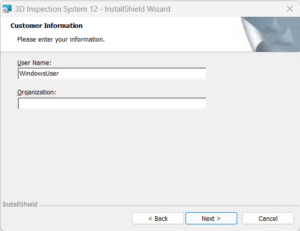
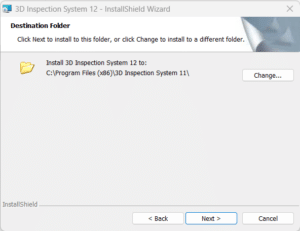
Use Next to review and accept the EULA, use the default wizard options, and Finish the installation.
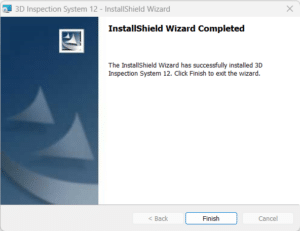
Your 3D Inspection System icon will appear on your Desktop to launch the program.
If you previously activated on this computer, you may not need to activate. Otherwise Activate your software if prompted. If this is a new computer and you have any issue with activation, choose Activate Later to continue meantime and contact our Activation department.
