NOTE: If this is an installation on a second backup/auxiliary computer, simply locate the last installer you previously downloaded and should have archived in a safe place (like a USB drive) and use it to install on your new computer. Or check your Downloads folder in Windows. Skip past first picture below for next steps.
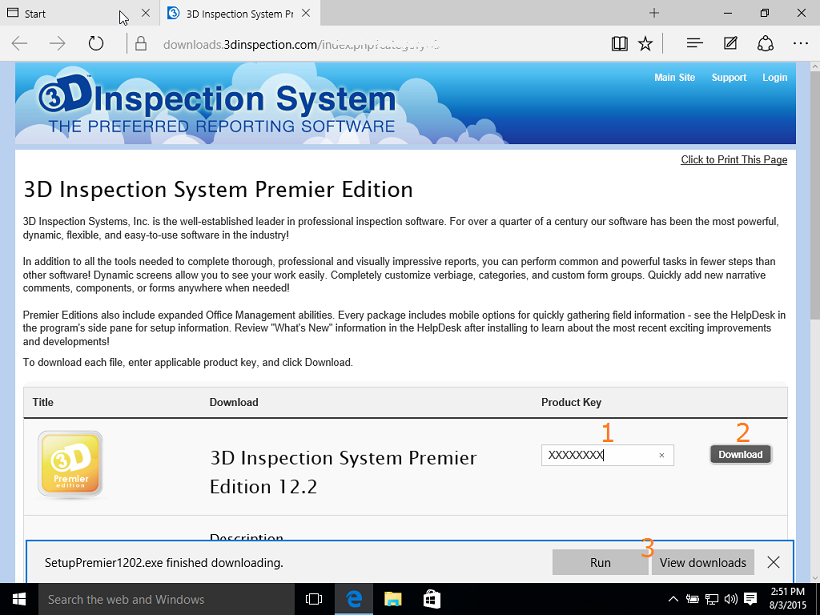
Otherwise, for an initial installation of a new version or upgrade, click or copy and paste your download link from your delivery email into your browser.
Copy and paste the Product Key, then click Download. See your delivery email for any special downloading steps or keys.

See your downloads page for any special steps in regard to backing up data, uninstalling, or other pre-installation preparation before upgrading or re-installing on an existing computer where 3D was previously installed.
After downloading the file to your hard drive, when ready to install, Run the file, or open the Downloads folder and run it. You may access the Downloads folder later by opening File Explorer if you need to run it again, transfer to another computer, or archive the download onto a USB drive for safe keeping along with your backups.
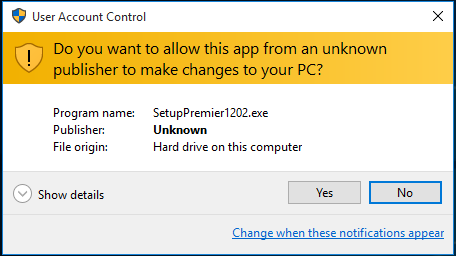
When the file runs, choose Yes at the UAC prompt to allow it to continue.
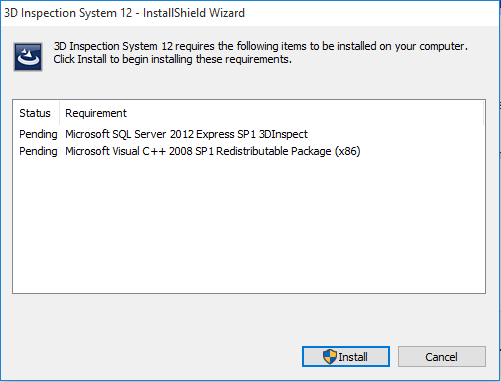
Choose to install any prerequisites such as SQL or others.
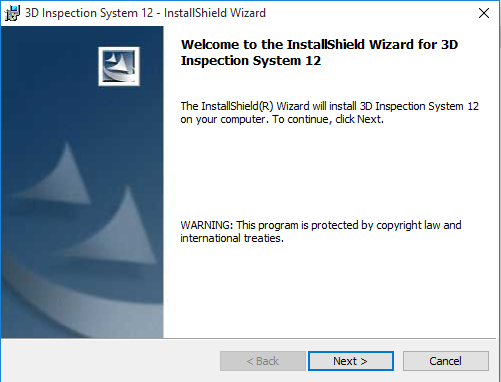
When components needed by Windows are installed, the program installer wizard will appear.
Follow the wizard to finish the installation. Click Finish when done, and a 3D Inspection System icon will appear on your Desktop.
Be sure to copy your download to a removable USB drive or cloud storage for safe keeping, in case you ever need it to reinstall. We recommend storing your current installer file along with 3DBackup .zip files of your customized data made regularly using File > Backup All Files in the program, since those items could be used to quickly set up again should something bad happen.


