In order to create new inspection reports, one must first add a new job to Office Management. This can be done when the job is initially booked, prior to creating the inspection reports themselves. Collecting and entering your job information such as the site address and client or other contacts associated with the job also provides an easy way to search for jobs later on, as well as automatically merge that information into inspections, contracts, and other documents. It’s easy to add a new job.
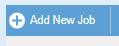
1. Click the Add New Job button.
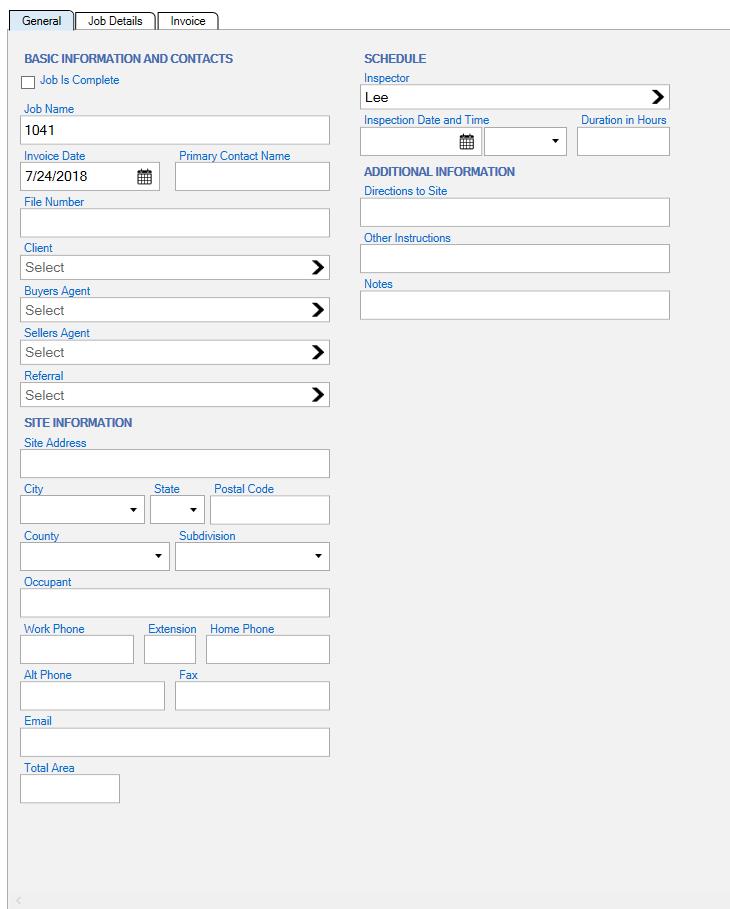
2. The Job Data Entry area appears for entering job information. Tab through fields or tap to access. We recommend entering minimally your Job Name (used to name inspection reports), a client or customer type contact, inspection site information, and the inspector, date and time. Other job details and invoicing items might also be added.
3. You may optionally produce an Invoice with the Preview/Print or Email button. (For emailing to work you must set up Emailing in Maintain > Office Management Preferences--See Help screen.) Your Invoice design may be adjusted using Customize > Customize Invoice Forms. See help screen for further instructions.

4. When finished, Save your new job.
5. To edit the job, create, access inspections or upload to the cloud select it and use the options at the bottom of the job details
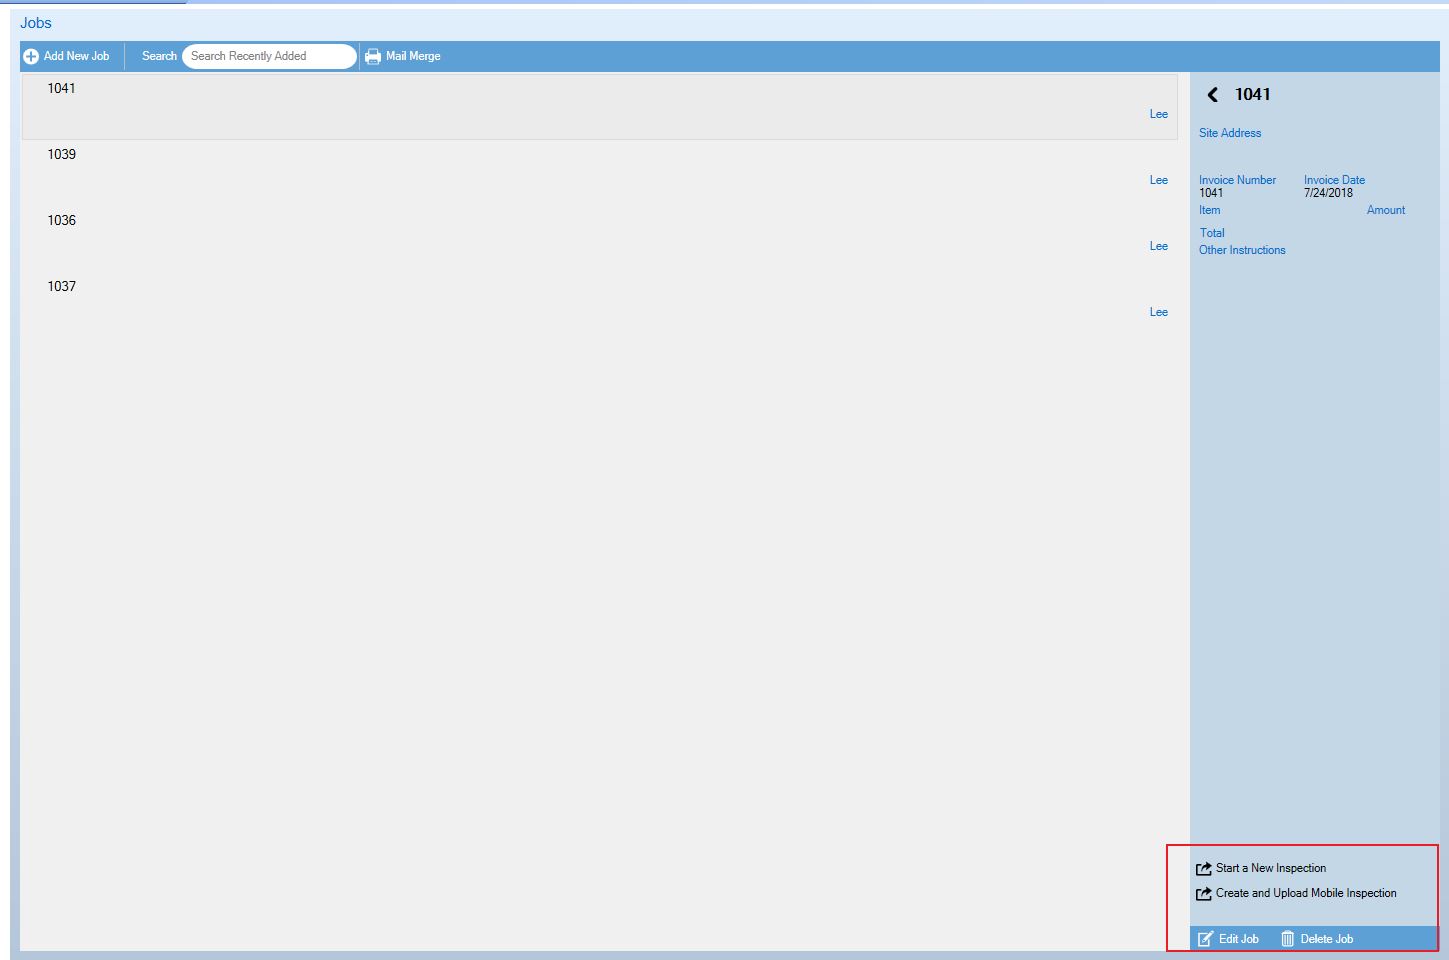
Multiple inspection reports may also be attached to the same job. See Create and merge multiple reports from the same job for more information.


 Need Support